Connect with Hilary on Instagram to stay up to date with these cool labs!
Follow her @4teachingnlearning
Follow her @4teachingnlearning
|
Try it out!
|
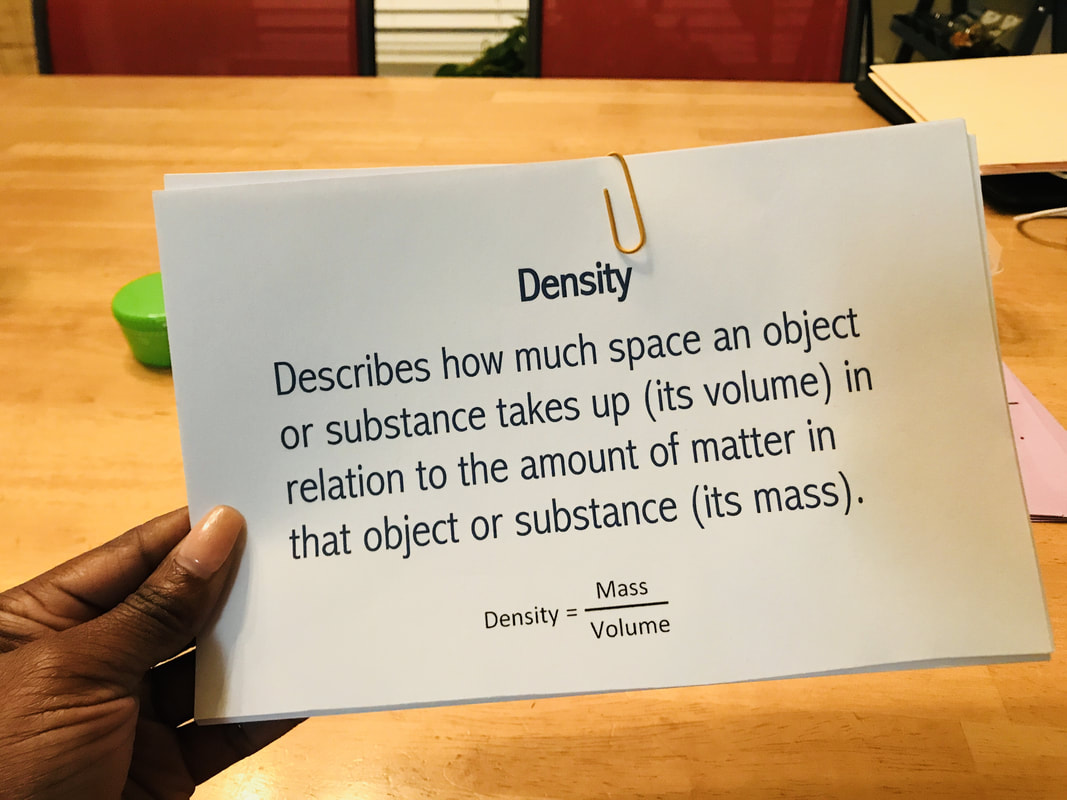
Lesson Before beginning you want to have all of your materials in place. It gets the students excited and eager to learn! We began this lesson by learning the meaning of density. The students read the density handout and copied it on their paper. During this discussion I invoked their prior knowledge by assessing what they already knew about density. The week prior we completed a Mixtures vs Solutions lab. So, I asked them to identify the the denser material in an oil and water mixture (formative assessment). Together we concluded that water is more dense than oil. Oil floats to the top while water remains on the bottom, even after shaking the mixture. This served as their introduction to density. |
|
|
|
Experiment on your own. Try out the experiment before presenting it to the students. Your trials and errors will help your performance as an instructor and help the lab run more smoothly.
|
Experiment
Here's what you will need.
Materials:
Procedure:
Here's what you will need.
Materials:
- Skittles
- Cups
- Water
- Plastic Pipettes (optional)
- Marker, Crayons, or Colored Pencils,
- Paper
Procedure:
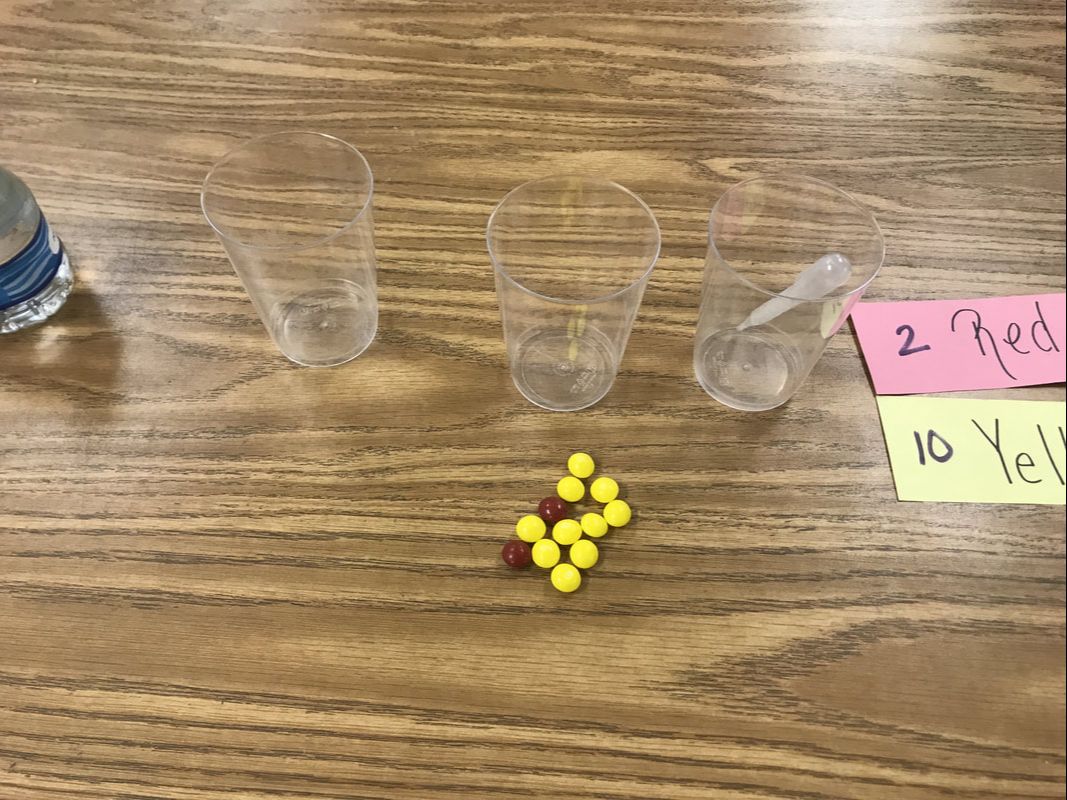
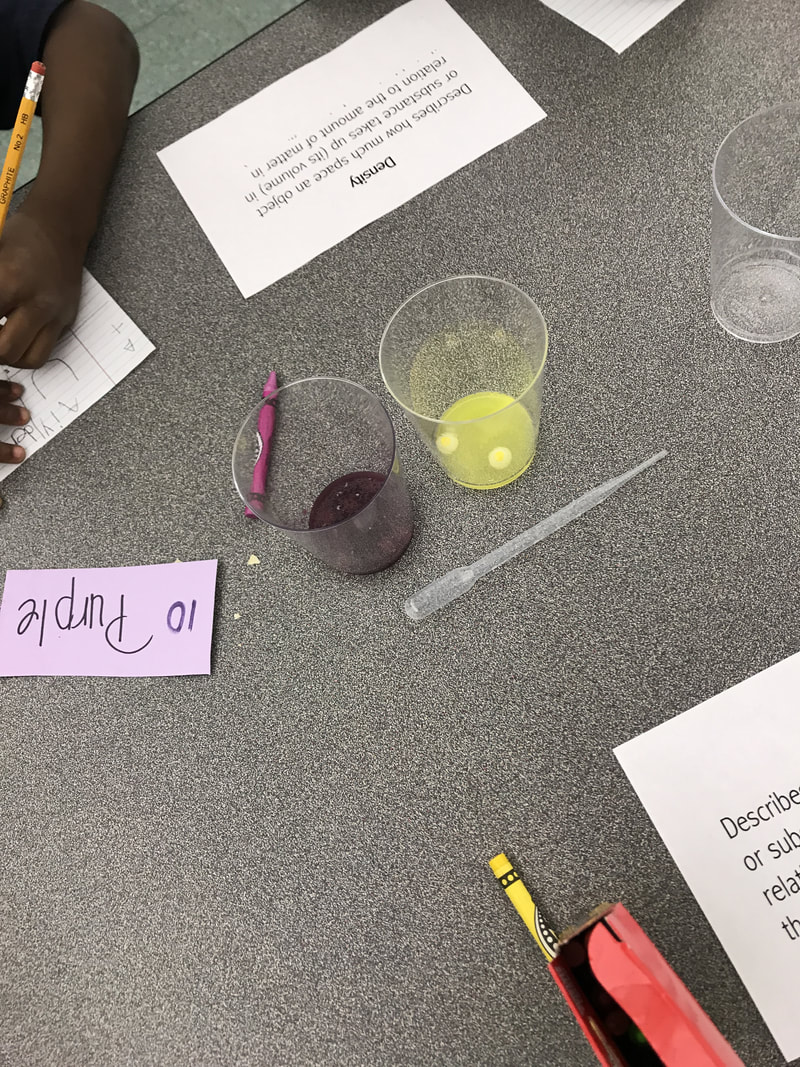
- Count out the number of Skittles in the colors that's you prefer. I found that a ratio of 10:2 worked best.
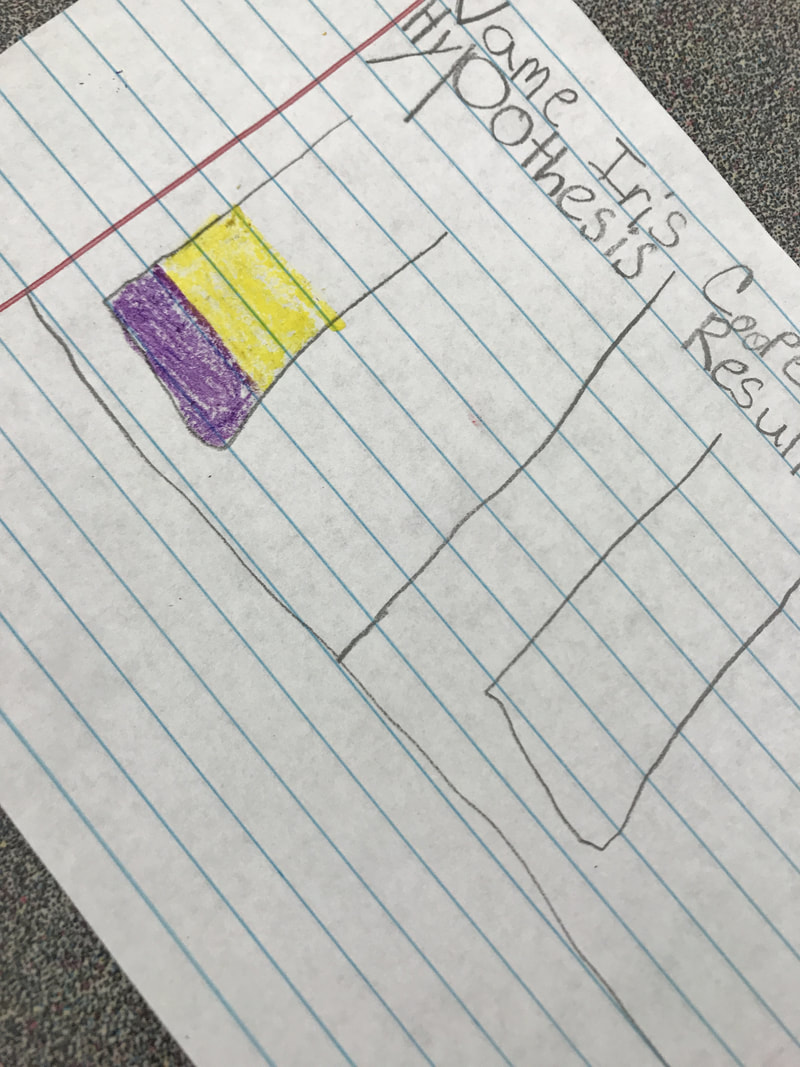
- Have the students draw two cups on their paper. Label one cup hypothesis and the other results. Let the students hypothesize which color they think will be denser. This color will sink to the bottom of the cup. They can use the crayons to color the color bands in their drawn cups.
- Allow the students to separate the Skittles by color and place them into two separate cups.
- Show the students how to use the pipette. Choose two students to pipette small amounts of water into the separate cups. Please make sure that they keep the pipettes separated to prevent early color mixing. Pipette enough water into the cup so that the Skittles are barely submerged.
- Take about five minutes and watch the dye dissolve from the Skittles and into the water. It helps if you instruct a student from each group to carefully swirl the cup every minute or two.
- Next you will, again carefully, pipette each color into an empty cup. I observed less color mixing when the denser color is placed in the cup first. Slowly pipette the first color into the cup. When pipetting the second color, place the tip of the pipette on the side of the inside of the cup near the surface of the first color. Slowly release the second color and watch the colors separate!
- Your students will be in awe! Lastly, instruct the students to color their results cup on their paper. Were they right?
- Discuss the results and wrap up with a review of density.
|
This is a lesson that they won't forget! To further drive the instruction, I asked my students to compare the densities of wood chips and rocks in water. Happy Teaching!
|
|
