Connect with Hilary on Instagram to stay up to date with these cool labs!
Follow her @4teachingnlearning
Follow her @4teachingnlearning
Try it out!
Lesson
|
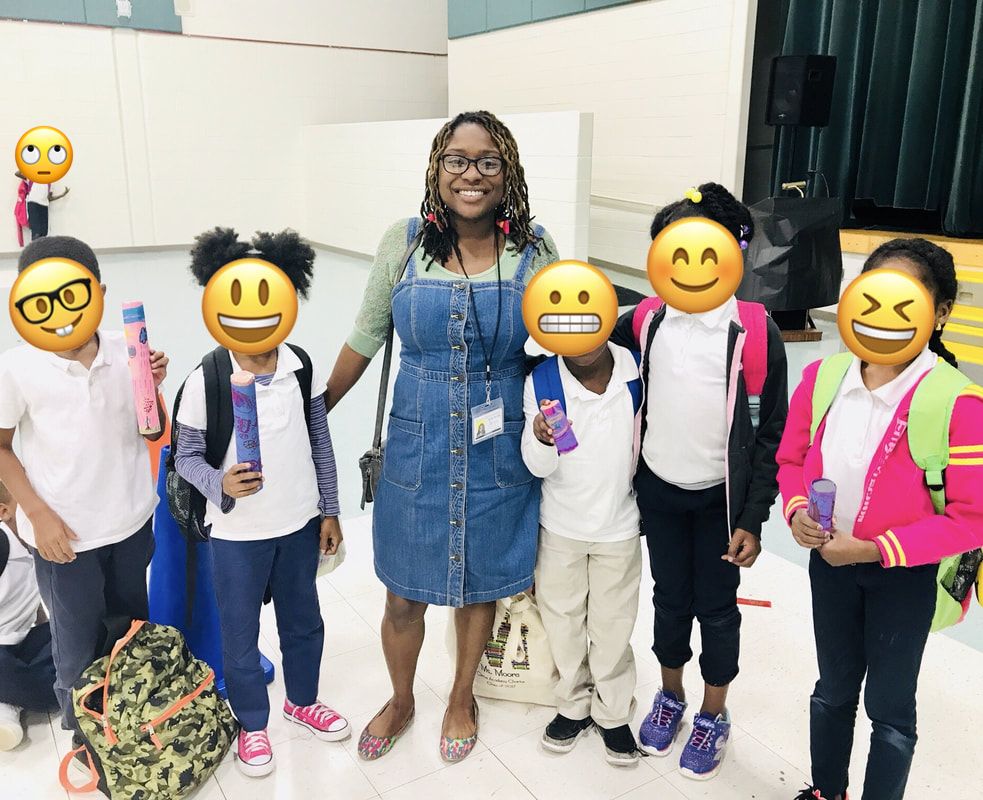
Water! Our bodies are mostly composed of it. It is a crucial component to sustaining life on earth. We can never know enough about water! My students and I thoroughly enjoyed this lesson. We started off by learning about the water cycle.
After the students read about the water cycle, we watched a video and discussed it further. The students were able to verbally name each step of the water cycle, as well as explain what happened during the process before moving on (formative assessment). Next, I introduced the students to rainsticks and rain dances. I find it very important to constantly learn about the cultures around the world. My students were amazed at the rituals! Check out these useful links about rainsticks and raindances! Links: Rainstick The Rain Dance Message Sticks |
The Four Steps of the Water Cycle
|
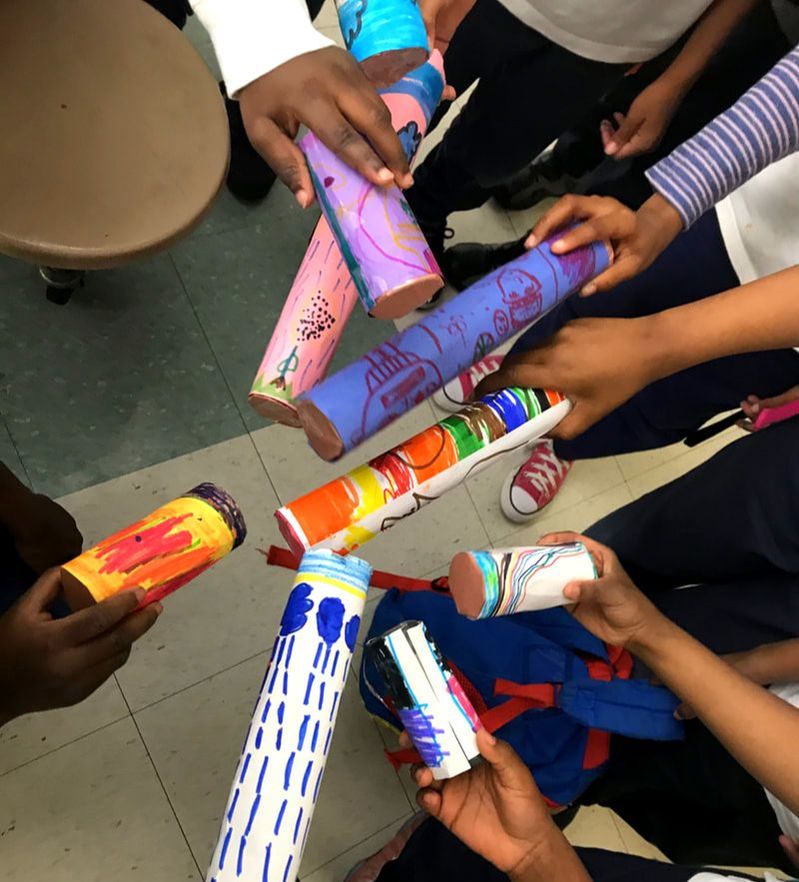
DIY Rainstick Activity
What you need:
- A long cardboard tube (paper towel or wrapping paper tube). Aluminum foil
- Small dried beans, unpopped popcorn, dry rice, or tiny pasta.
- Tape
- Glue
- Scissors
- Crayons or markers
What you do:
(These are edited instructions are from NASA Climate Kids. See the full original instructions at the link below.)
- Trace around the end of your tube onto a piece of brown paper (or construction paper).
- Draw a circle that is two times bigger than your first circle (around that first circle) and then draw four or so spokes between the two circles.
- Cut along the spokes.
- Glue and Tape the spokes onto one end of your tube.
- Cut a few pieces of aluminum foil that are about one and half times the length of your tube and about 6 inches wide.
- Crunch the aluminum foil pieces into long, thin, snake-like shapes. Then twist each one into a spring shape.
- Put the aluminum foil springs into your tube.
- Pour some dry beans, dry rice, or unpopped popcorn into your tube. The tube should only be about 1/10 full.
- Make another cap from brown paper (the same as the first three steps) and cap your tube.
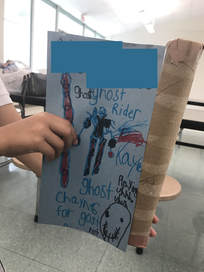
- Decorate the tube by covering it with construction paper, and then making designs with crayons or markers.

|
|
Head over to NASA Climate Kids for more cool labs!
Download the PDF lesson here.
Resources: https://climatekids.nasa.gov/menu/make/
Download the PDF lesson here.
Resources: https://climatekids.nasa.gov/menu/make/
